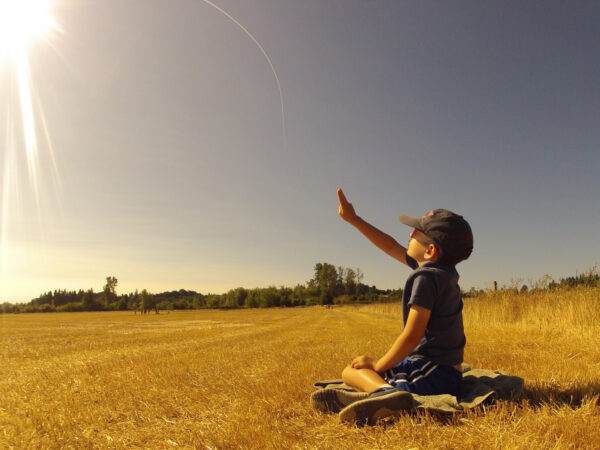
My son’s nature drawer is full of feathers – parrot and flamingo feathers from his Grandma in Florida; seagull feathers from the beach; crow feathers from our city block. Feathers are soft and beautiful, but collecting feathers is more than just a visual and tactile exercise. It’s a way for kids to hold in their hands a little bit of the magic of flight.
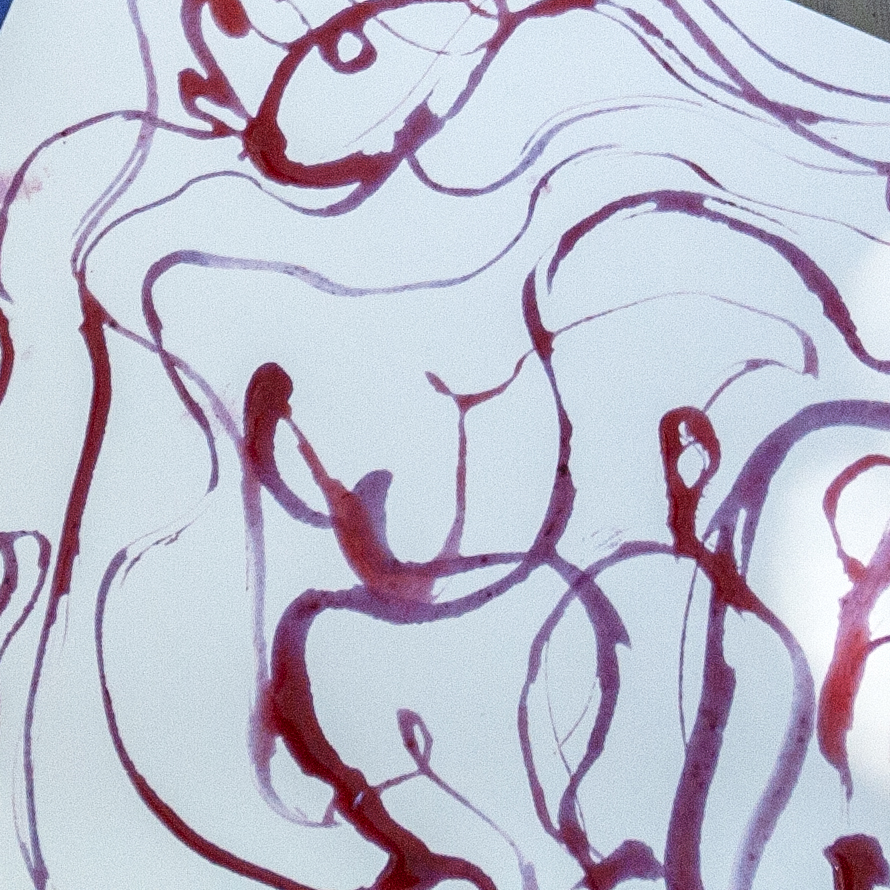
I was excited to tap into this magic and do a feathers project with our tinker group. After learning about how birds use their feathers, the kids learned to use feathers themselves, making beautiful purple swirls from handmade quills and blackberry ink.
Group Reading
We started out by reading Feathers: Not Just For Flying, by Melissa Stewart.
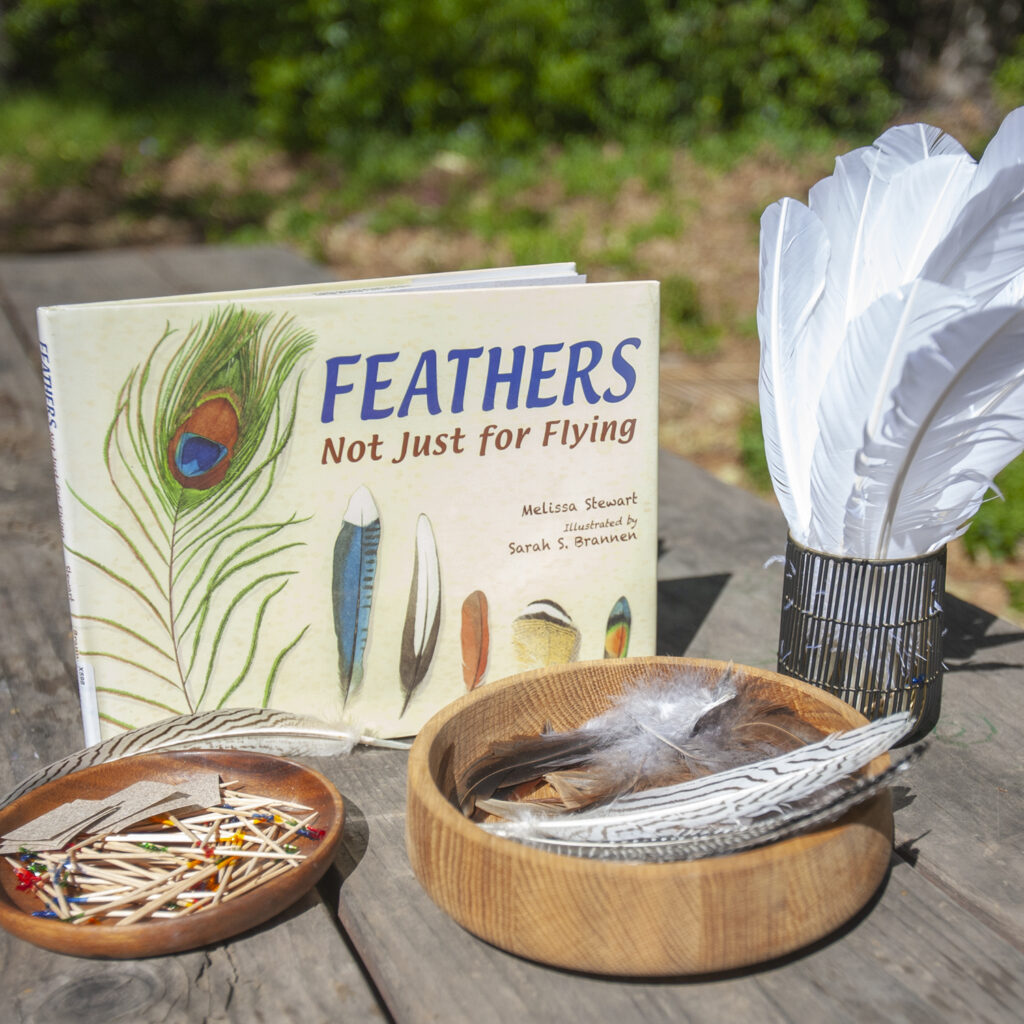
This is one of my favorite bird books for young children. It goes beyond the usual characteristics of birds approach, and illustrates a variety of feather adaptations and bird behaviors. It presents information in a way that’s relatable to kids (for example, comparing the functionality of feathers to umbrellas and forklifts), and will likely even teach adults something new.
Scientific Observations
After we read the book, we looked at different kinds of feathers. We practiced being scientists by making observations and hypothesizing about what part of the bird each feather might be from, and how the bird might use each feather. Some feathers we examined include peacock tail feathers, blue bird and turkey wing feathers, and an assortment of down.
Once we examined the ways that birds use feathers, we talked about how people also use feathers– for decoration, to insulate quilts and pillows, and as quills for writing. Then the fun began as we rolled up our sleeves and got messy making some berry ink and quills.
Making the Berry Ink
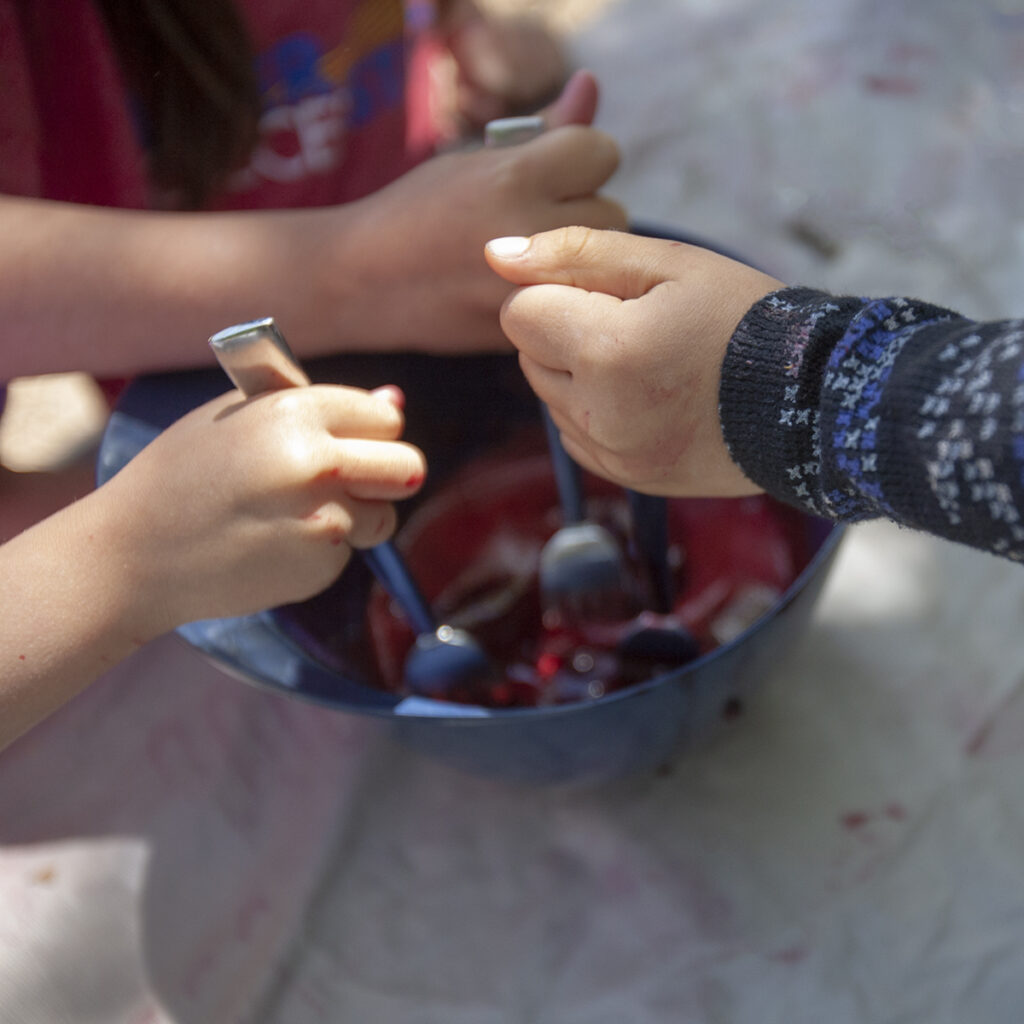
I adapted the following recipe from home science tools, because it is kid-friendly and could easily be made in the forest.
Materials
- Measuring cup (1/2 cup)
- Measuring spoon (1/2 teaspoon)
- Bowl
- Strainer
- Forks
- Potato Masher (optional)
Steps
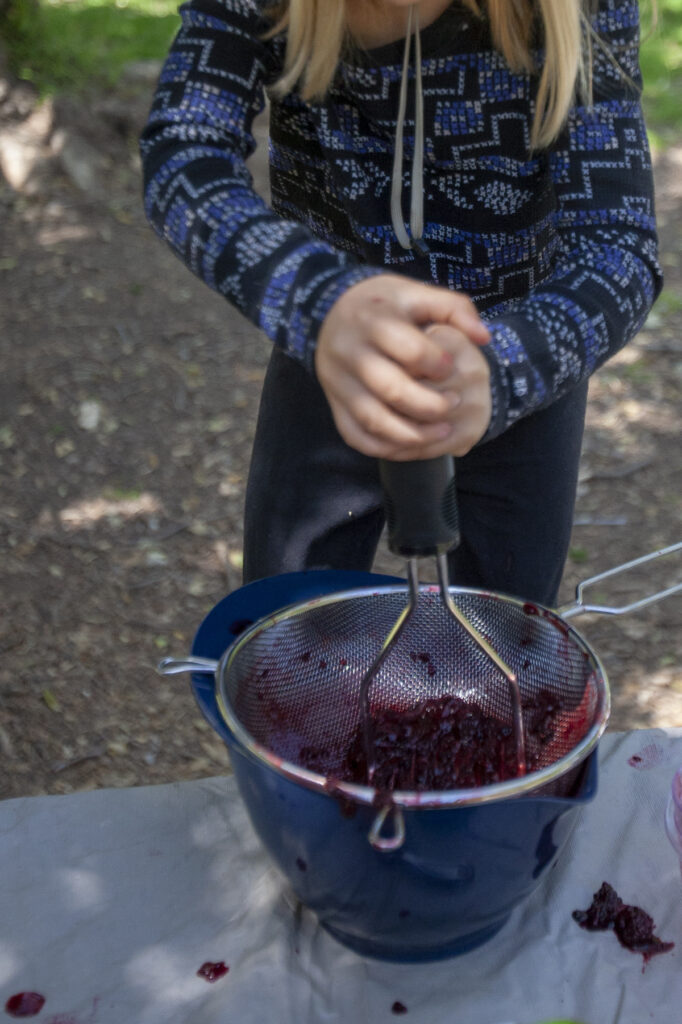
- Take ½ cup of thawed frozen blackberries and mash them in a bowl. (You can also use fresh berries, but frozen berries are already a little mushy.)
- Take the mashed berries and push them through a fine-mesh strainer over a bowl, to separate the pulp and juice.
- Devour the blackberry pulp, so that nothing goes to waste. Eat it plain or mix it with yogurt. Yum!
- Add ½ teaspoon of white vinegar to the juice. (This holds the color.)
- Add ½ teaspoon of salt to the juice. (This preserves the ink).
- Mix well.
- Pour into a small jar to use as an inkwell.
- Refrigerate the ink if you want to use it again.
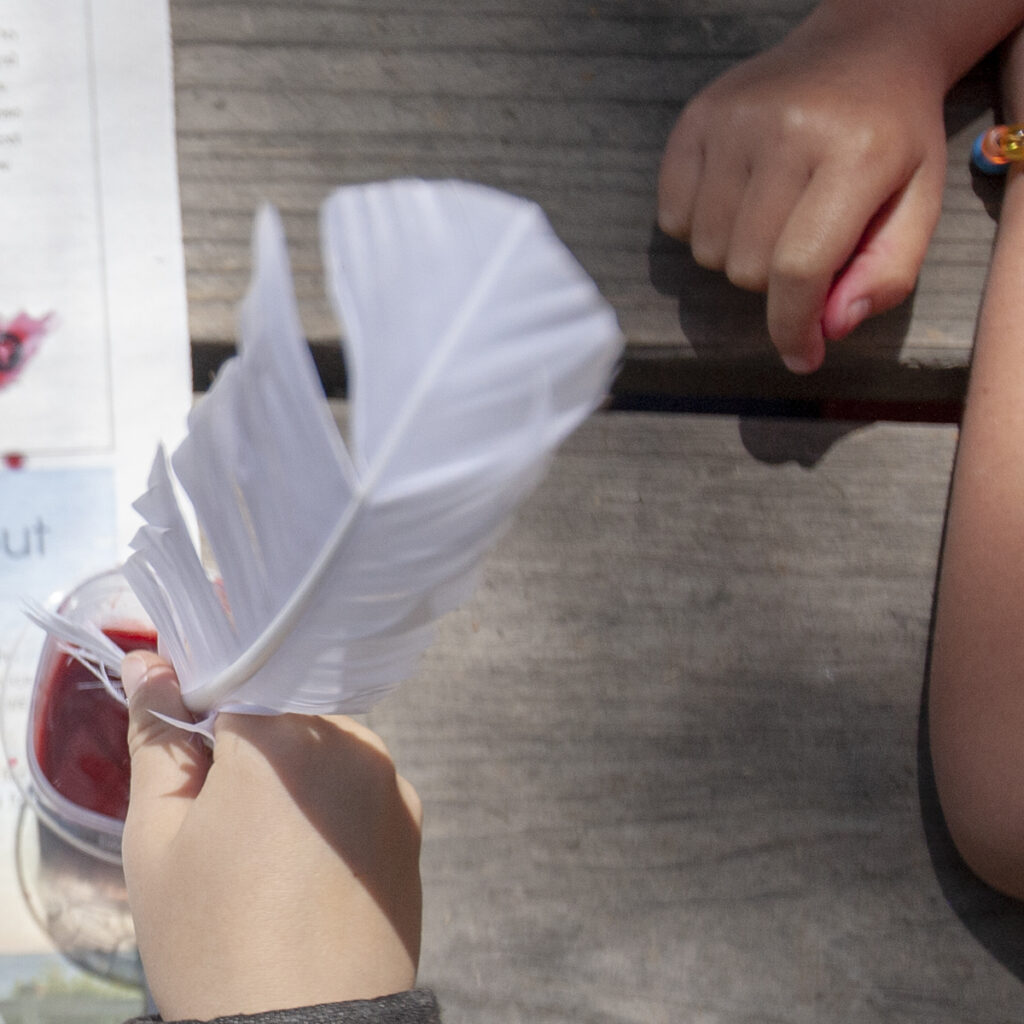
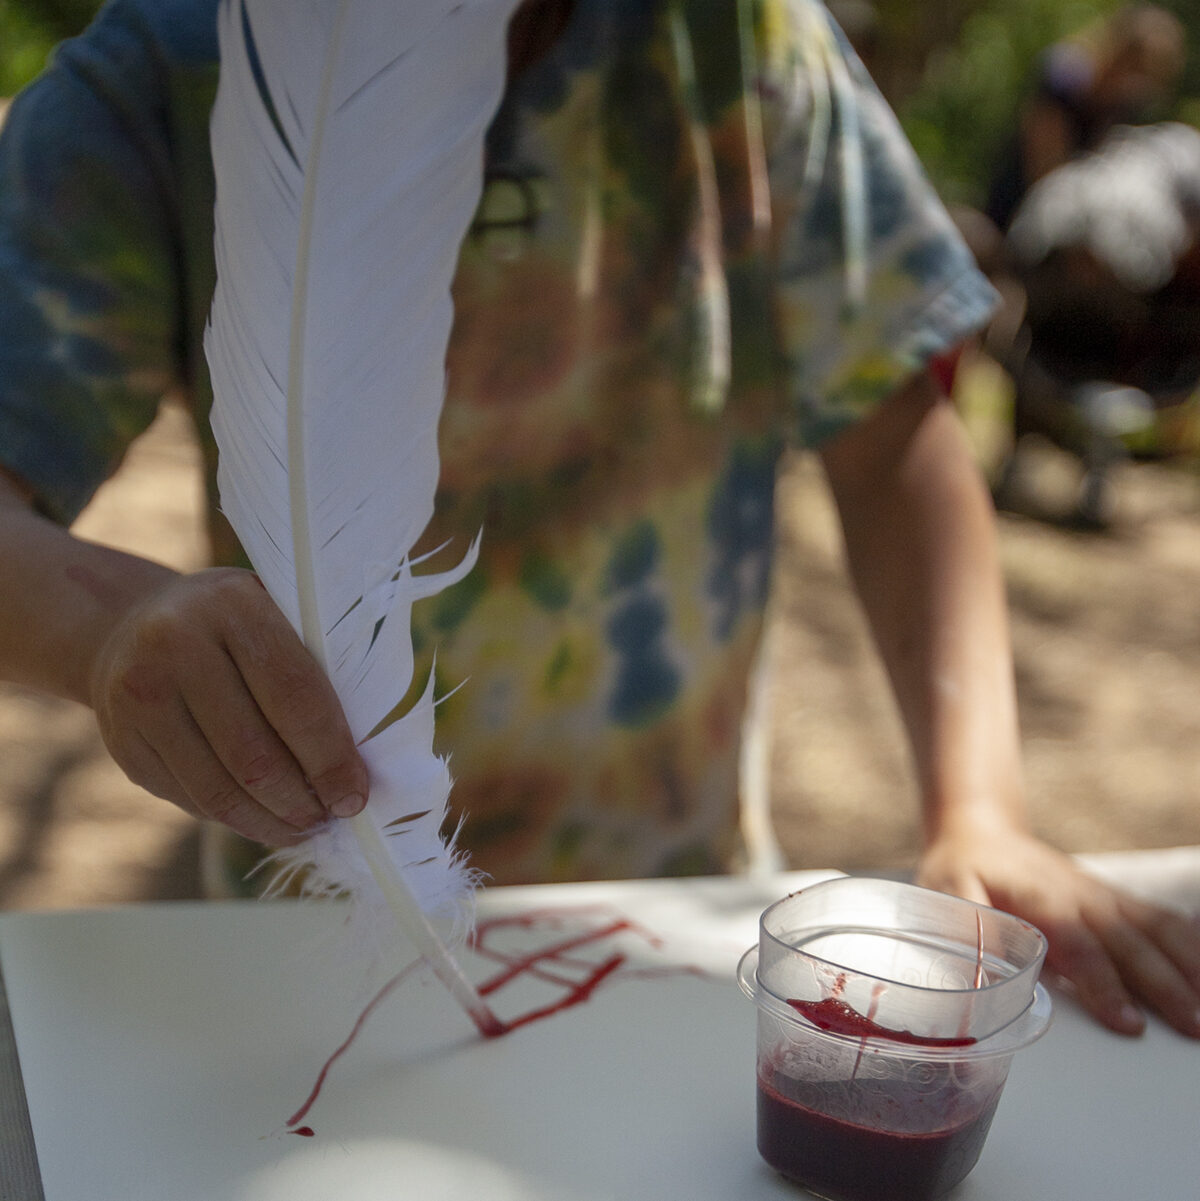
Making the Quills
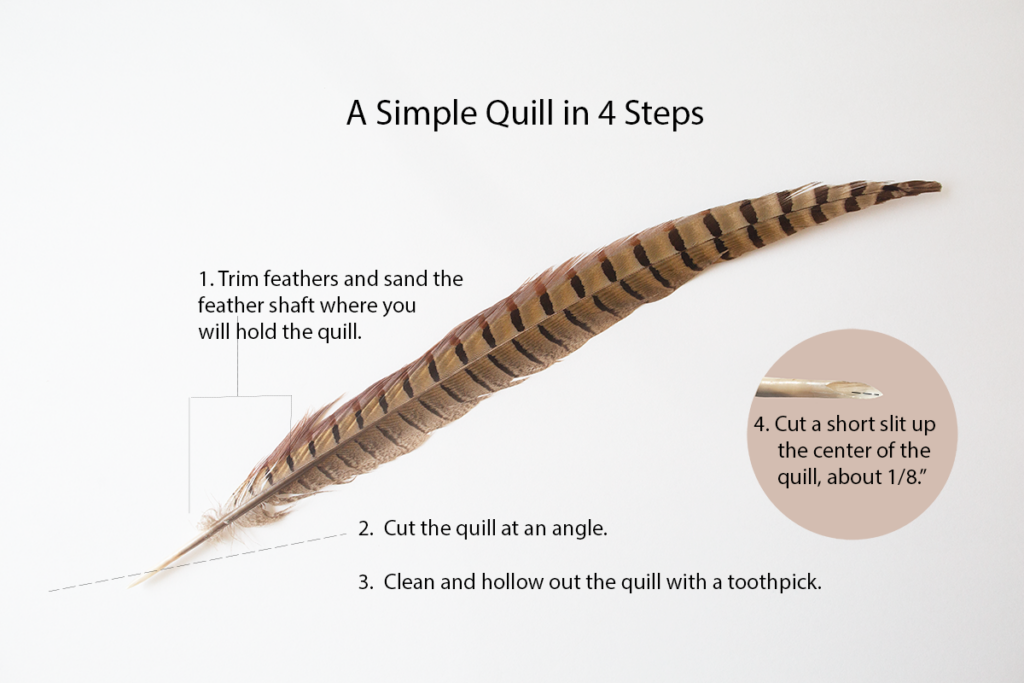
- Trim the extra feathers, and sand the edges of the quill smooth.
- Cut the quill at an acute angle. NOTE: Quills are surprisingly strong and difficult to cut. This may be a step for the grown ups.
- Clean and hollow out the quill with a toothpick.
- Cut a short slit (about 1/8″ to 1/4″ up the center of the quill). This allows you to change the ink flow by varying the pressure applied when writing.
Want a more detailed, precise quill for your own use? Feel handy with an exacto-knife? Check out this tutorial for adults to follow, from Storm the Castle.
Make Beautiful Art Using the Ink and Quills