It’s fun to make something with your own hands. It’s even better if you can use the thing you made to make something else.
Building looms is just such a double maker project, and it made a fun first building activity for our tinker group. The kids all worked hard on their looms and had a real sense of accomplishment when they finished.
This is also a great project for kids to make a gift for a sibling or friend who loves to craft.
Materials:
- Safety glasses
- Wooden boards (We used 10″ wide boards cut by our local lumber yard into 12″ lengths)
- Sanding sponges (easier than sand paper for little hands)
- Ruler or stencil for marking pilot hole spaces
- Screws (We used size 8 wood screws with a partially smooth shank, so the part sticking out of the board would be smooth and wouldn’t fray the yarn.)
- Power drill + bit (size 7/64 if you use size 8 screws)
- Manual screwdriver
- Electric screwdriver (optional, for fun and improved child focus)
Process:
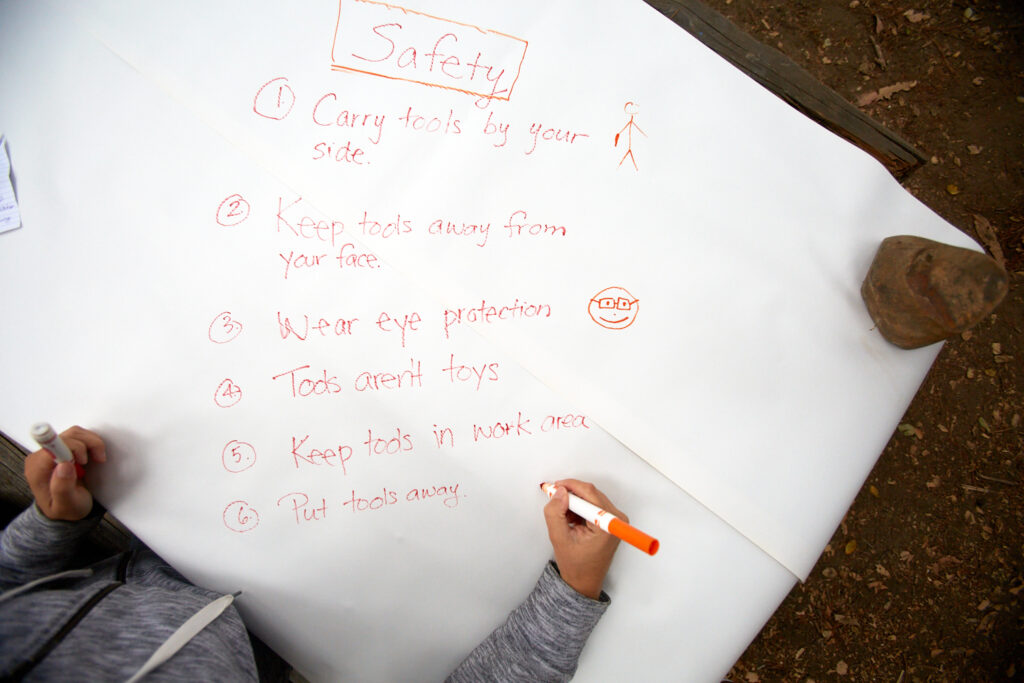
Review Tool Safety
As always, you know your children best and are the best judge of safety issues. Supervise tool use at all times, help kids as needed, and if you don’t feel they are ready to use power tools, you can always drill the pilot holes for them.
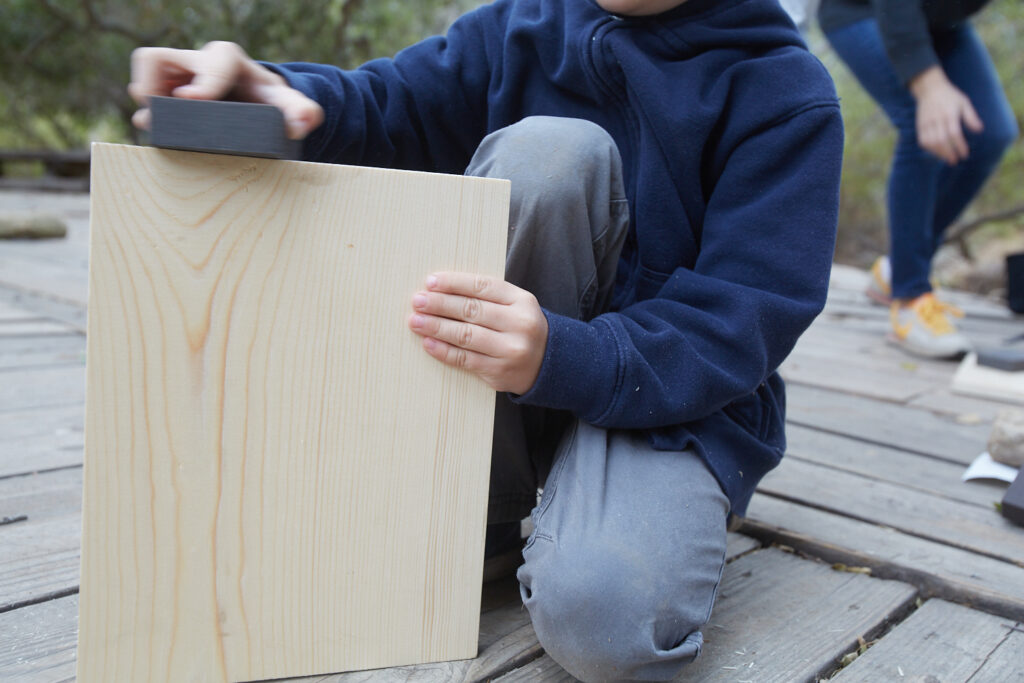
Sand the Board
I find that sanding sponges are easier for children to use than regular sand paper.
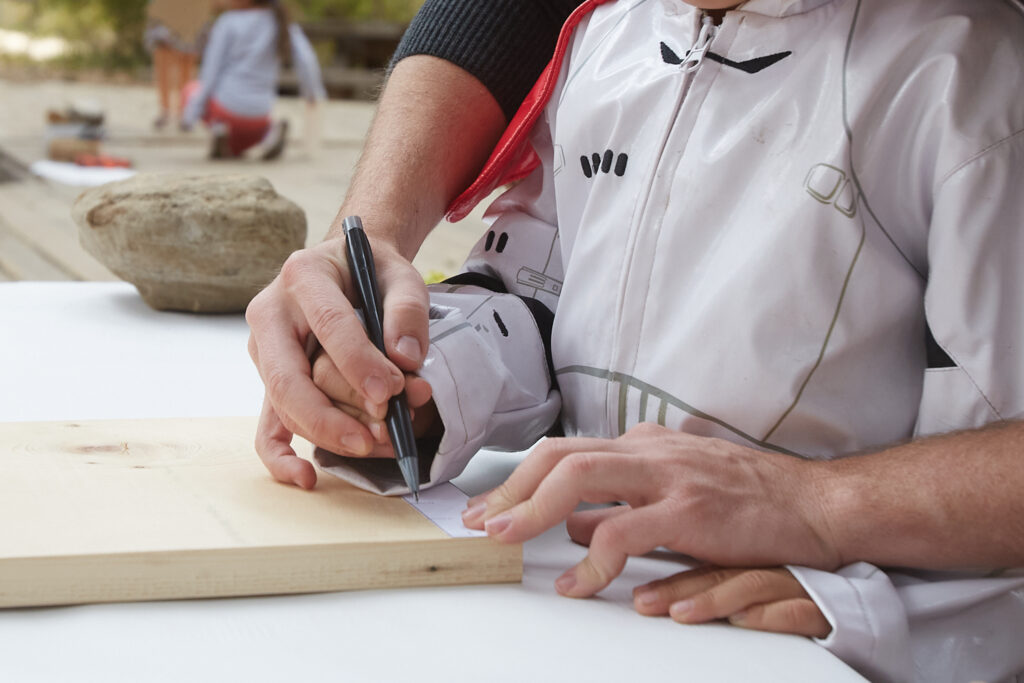
Mark the Board For Drilling
Mark two rows of drill marks across the top and bottom of the board. Older kids can do this with a ruler. For younger kids, you may want to make a stencil. We spaced holes approximately every 3/4 “.
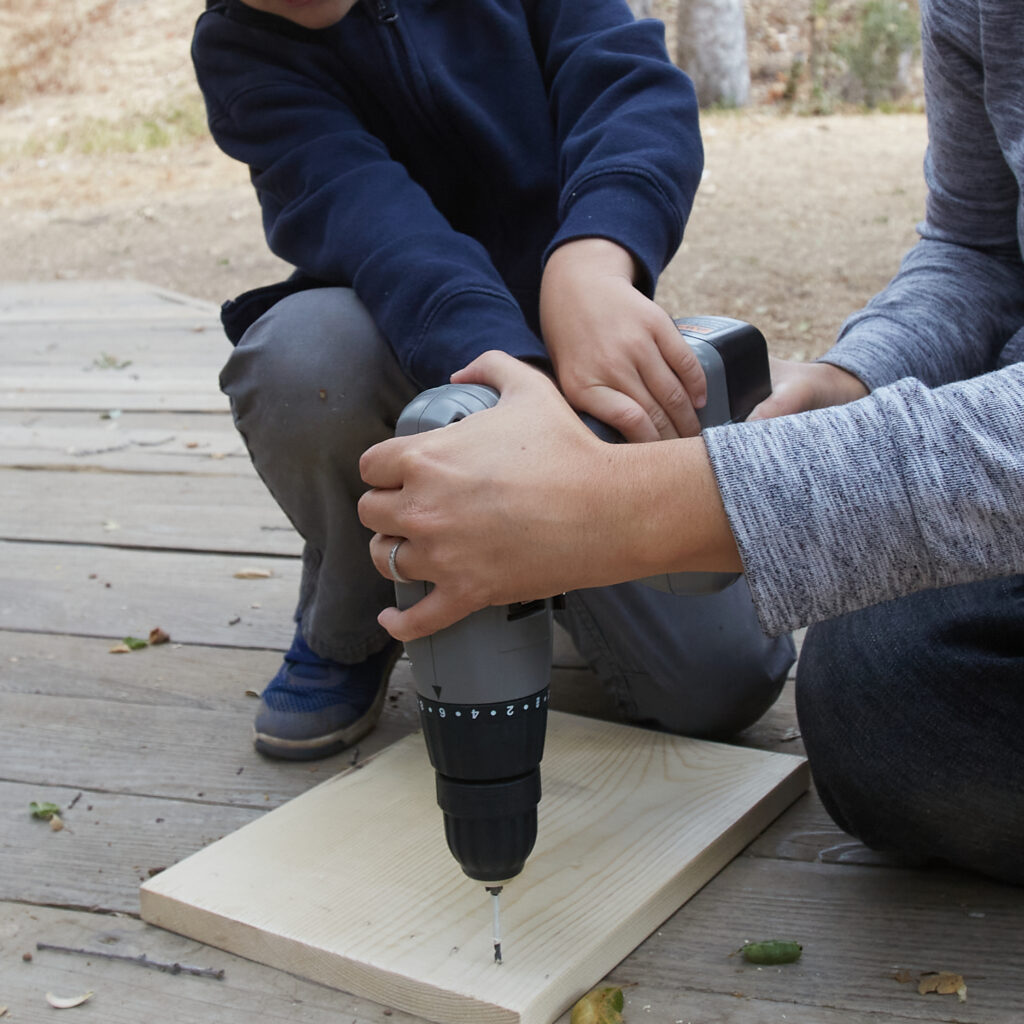
Drill Pilot Holes
Drill pilot holes across the top row and bottom row about 2/3 of the way into the board. Use tape on the drill bit to mark how far to drill / when to stop.
This was our first drill project, and our kids were on the younger side, so we found it easiest to help them support the drill.
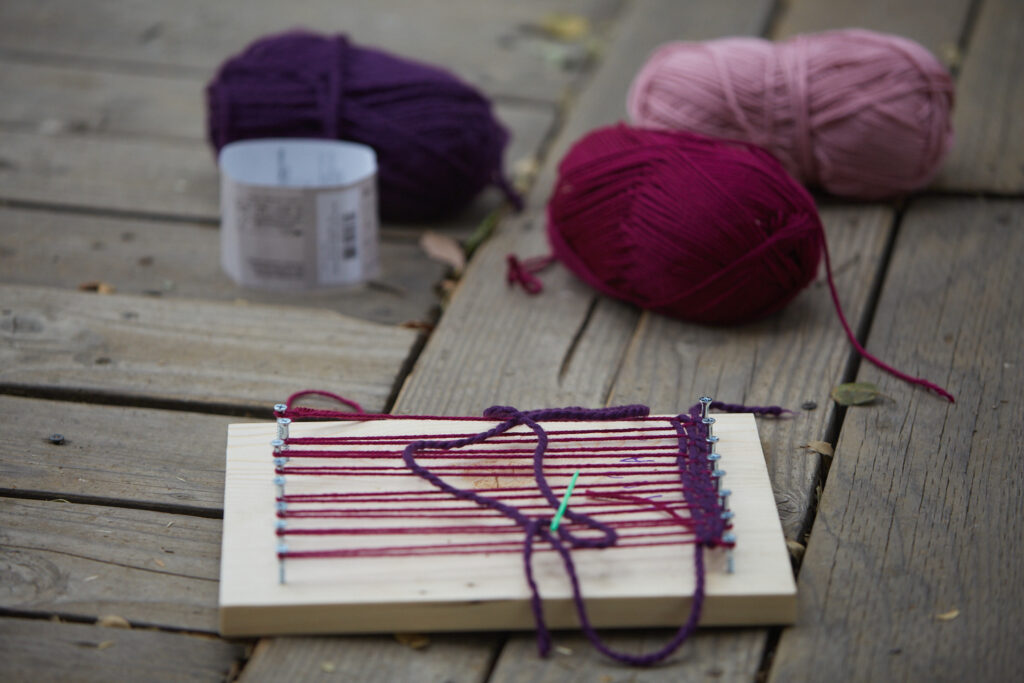
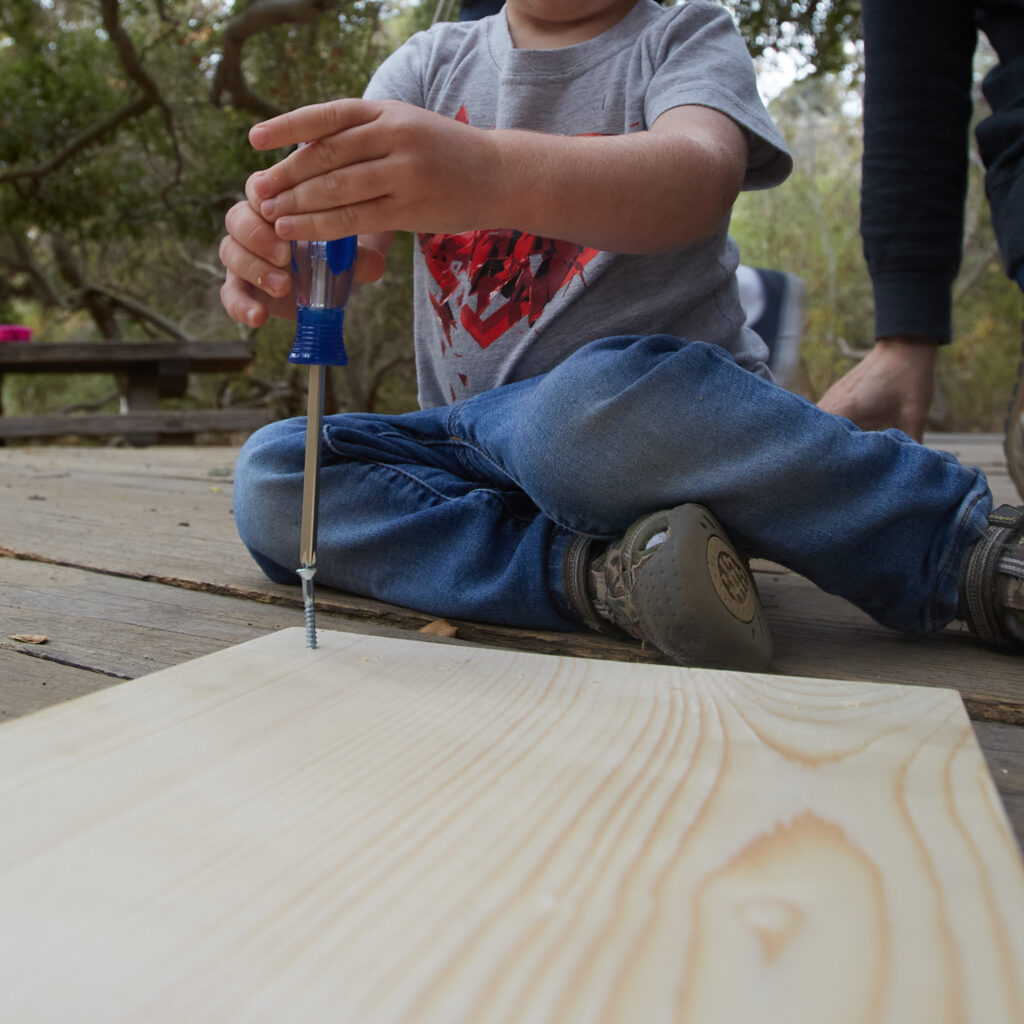
Add the Screws
Screws should go about 2/3 of the way into the board. You want them sticking up enough to easily wrap yarn, but driven in enough to be stable under tension. I recommend that every child get a feel for using the manual screwdriver before moving onto the electric one.
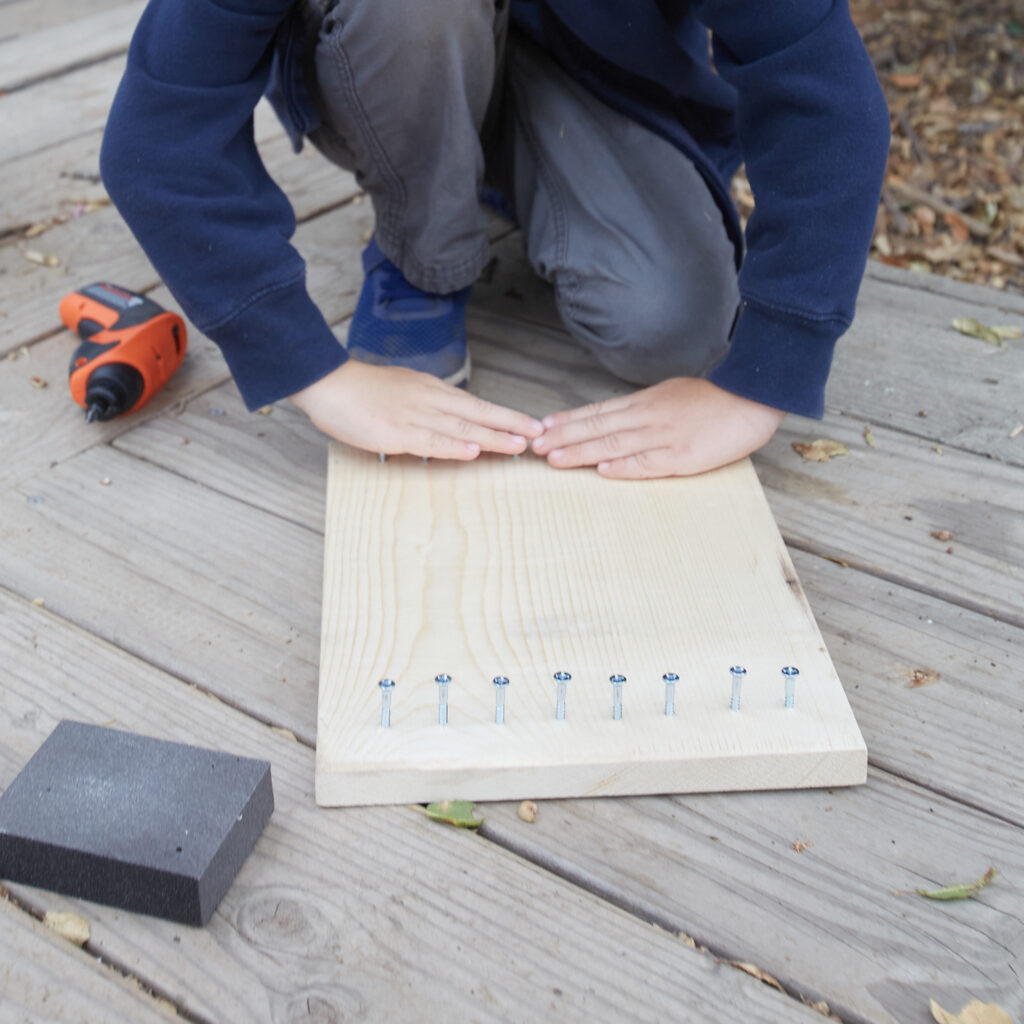
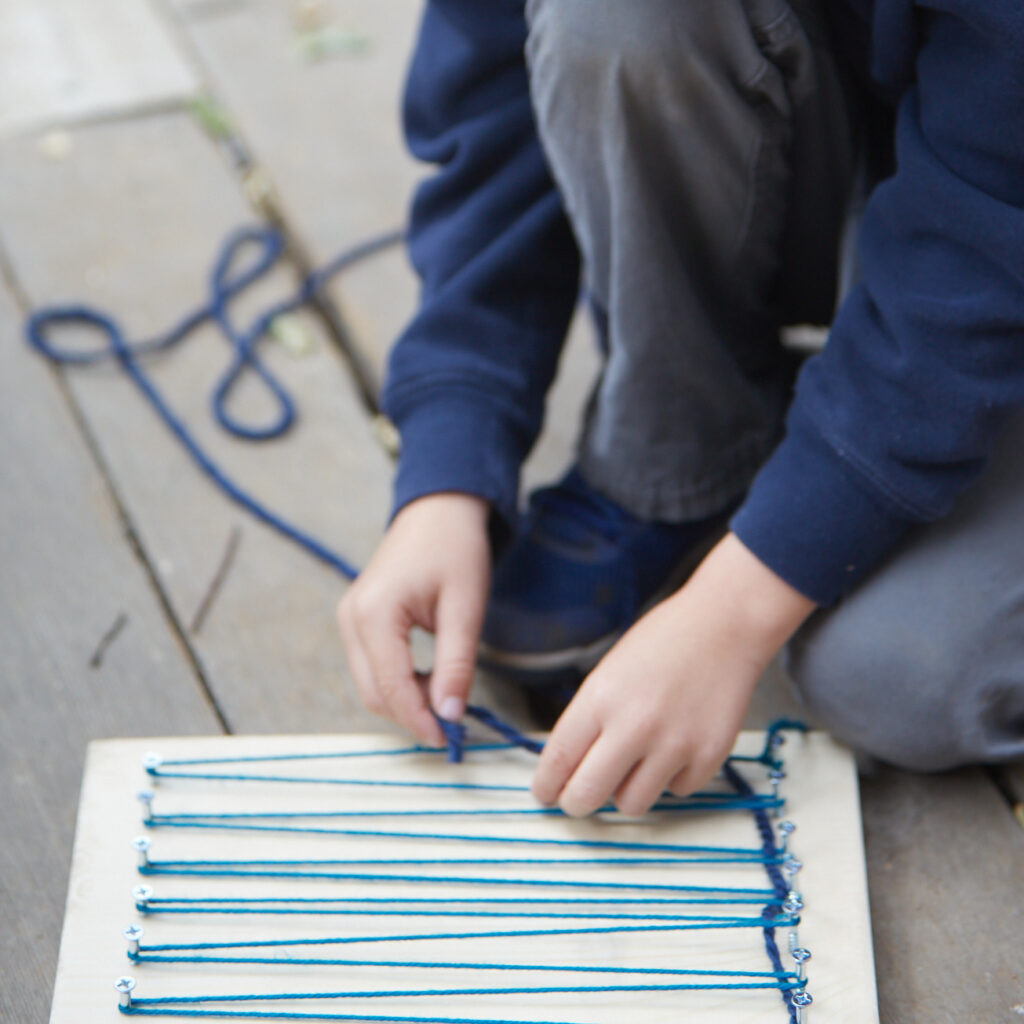
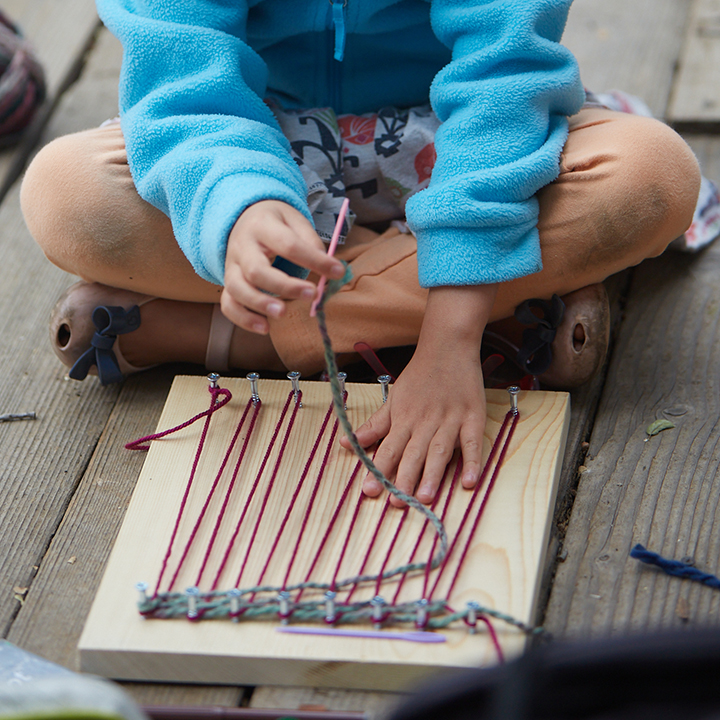
Set Up your Loom and Start Weaving!
When the loom is finished, you can thread it with yarn or nylon string and start weaving. Thick yarn is great for beginners because they’ll see real progress with fewer rows of weaving.
Older kids might be eager to get started weaving right away, but for our kids we saved this part for the next session. After all their hard work building, they were ready to play!